Deploy front-end applications with Docker
from David Claeys
In a previous article we explained how you could deploy a .NET application with Docker. The content of this article will be applicable whether you use a .NET backend or not.
Possible pitfalls
A possible issue is that you only want to make your backend available for use to your front-end. This is quite nice since it significantly decreased the possible attack surface. But at a first glance this is not possible since the clients running the application wouldn't be able to perform any API call.
Or maybe as per convention you host all your backends at api.example.com/apiName while you want to give your front-end applications a more recognizable domain. If you've tried to just point your client requests to a different domain you've probably noticed the following problems : – it's quite annoying to hardcode domains since these can change over time – CORS on won't let you do it
The solution
These problems can both be solved through building a Docker image. The proposed example is based on Node but with some creativity you could tweak it with any front-end solution. To be clear since we're using Node we can build any framework based on it (like React or Angular).
We will split up the building process in two stages.
First build stage : Compiling
The first stage is intended to build or node application. If you want to build an application that's not based on Node this is where you would change the base image. If for some reason your build process requires multiple steps this is the place where you would do it.
FROM node:22-alpine AS builder
# all subsequent commands will be performed in the /app directory
WORKDIR /app/
# copy all the source code into the current directory
COPY . .
# update the system ,after that install all dependencies and run build
RUN apk update && apk upgrade --available && npm install \
    && npm run build
Second build stage : Hosting
The following stage will be responsible for running a http server (Nginx) hosting the application and also will proxy requests to the backend.
The contents of this stage would be something like this :
FROM nginx:mainline-alpine
# define environment variables for later subsitution
ENV API_PROTOCOL="https"
ENV API_HOST="localhost"
ENV API_PORT="80"
# change the working directory to the main nginx directory
WORKDIR /usr/share/nginx/html
# update and adding system dependencies
# default nginx configurations are also wiped out
RUN apk update && apk upgrade --available \
    && apk add envsubst \
    && rm -rf ./*
# copy the build output to the current folder
COPY --from=builder /app/build .
# add nginx configuration template file
COPY nginx.conf.template /etc/nginx/nginx.conf
# add script for variable substitution at runtime
COPY entrypoint.sh /docker-entrypoint.d/05-docker-entrypoint.sh
# set correct file permissions and remove files that are not needed
RUN chmod +x /docker-entrypoint.d/05-docker-entrypoint.sh \
    && apk del envsubst \
    && rm -rf /var/cache/apk/* \
    && rm -rf /etc/nginx/conf.d
Nginx configuration overview
Let's take a look at a file we will call nginx.conf.template.
user  nginx;
worker_processes  auto;

error_log  /var/log/nginx/error.log notice;
pid        /var/run/nginx.pid;

events {
    worker_connections  1024;
}

http {

 map $http_upgrade $connection_upgrade {
        default upgrade;
        ''      close;
    }


    include       /etc/nginx/mime.types;
    default_type  application/octet-stream;

    log_format  main  '$remote_addr - $remote_user [$time_local] "$request" '
                      '$status $body_bytes_sent "$http_referer" '
                      '"$http_user_agent" "$http_x_forwarded_for"';

    access_log  /var/log/nginx/access.log  main;

    sendfile        on;
        keepalive_timeout  65;

     server{
        listen 80;

        location / {
            root /usr/share/nginx/html;
        }

        location /hubs {
            allow all;
            # App server url
            proxy_pass $API_PROTOCOL://$API_HOST:$API_PORT;

            # Configuration for WebSockets
            proxy_set_header Upgrade $http_upgrade;
            proxy_set_header Connection $connection_upgrade;
            proxy_cache off;
            proxy_cache_bypass $http_upgrade;

            # WebSockets were implemented after http/1.0
            proxy_http_version 1.1;

            # Configuration for ServerSentEvents
            proxy_buffering off;

            # Configuration for LongPolling or if your KeepAliveInterval is longer than 60 seconds
            proxy_read_timeout 100s;

            proxy_ssl_server_name off;
            proxy_ssl_verify off;

            proxy_set_header Host $host;
            proxy_set_header X-Real-IP $remote_addr;
            proxy_set_header X-Forwarded-For $proxy_add_x_forwarded_for;
            proxy_set_header X-Forwarded-Proto $scheme;
        }
    }
}
Discussing locations
The first thing to note is that we define two locations : / (web location) and location /hubs (proxy location).
The / location will host the build output of our application, while the /hubs location is the location of the requests that will be proxied. It's important that in order for the web location to work the build files must be present in the indicated root directory.
The reason that we did not call the proxy location /api is that our front-end application uses SignalR to communicate to the backend. The configuration provided in this example enables features like web sockets and long polling. However you can tweak the example provided to meet your needs.
If you look deeper into the proxy configuration you probably will notice $API_PROTOCOL://$API_HOST:$API_PORT. If you would try this configuration directly in nginx it will fail pointing out your configuration is incorrect.
Don't worry though since these are simply placeholders (that's the reason we've called this file a template) that will be replaced later on. Our front-end application can simply point API communication to /hubs/whatever and our proxy will take care of it.
Variable substitutions
Let me ask you a question : When do you replace the placeholders with it's final value ? If you do it at build time each time a domain changes you'll be forced to rebuild. Or worse if you host multiple instances this means you'll need to build a separate image for each instance. I think it's obvious this method is not desirable at all.
Instead of performing variable substitutions at build time they should be performed at run time.
Modifying the entry point of an existing Docker image can be quite tricky, luckily we won't need to.
The nginx image provides a feature that when you put scripts into the /docker-entrypoint.d folder of the container it will run these scripts at startup time.
We will substitute the following variables : APIPROTOCOL_, APIHOST_ and APIPORT_.
Let's have a look at our entrypoint.sh file :
#!/usr/bin/env sh
set -eu

echo "$(envsubst '${API_PROTOCOL},${API_HOST},${API_PORT}' < /etc/nginx/nginx.conf)" > /etc/nginx/nginx.conf
exec "$@"
This script is quite easy, it uses the _envsubst _ command in order to read and substitute the contents of /etc/nginx/nginx.conf and writes them afterwards into the same file.
So during our docker image process we will need to locate our template file at /etc/nginx/nginx.conf and at runtime this script will substitute the contents of the file with the provided environment variables.
Considerations and thoughts
In this example we used Nginx as our http server, however you can use the server that best fits your use-case. However if you choose so you will need to figure out how to setup a proxy on your own. To be honest most common http servers provide plentiful documentation, so it really shouldn't be a problem.
You might have noticed the use of envsubst. The placeholder substitution at runtime has been one of the parts where I struggled most. For some reason it has been quite tricky to get the values of the environment variables in a bash script and putting them in the configuration file.
The most annoying part is that you specify the variables you want to substitute. If you have a large amount of placeholders to replace this can become quite cumbersome.


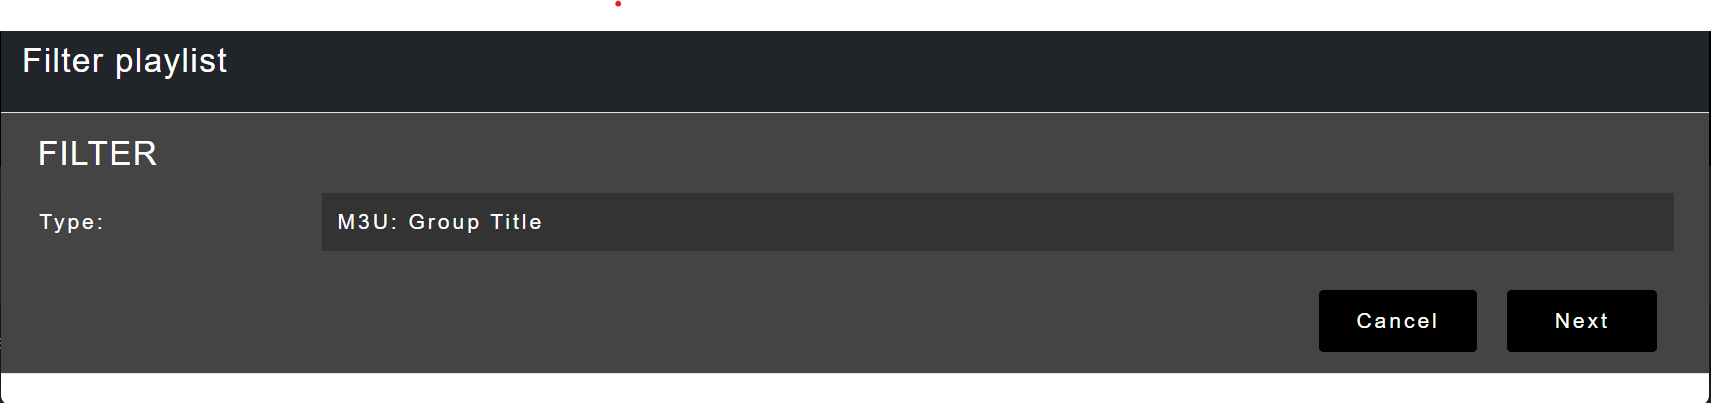
 The field we want to look for is


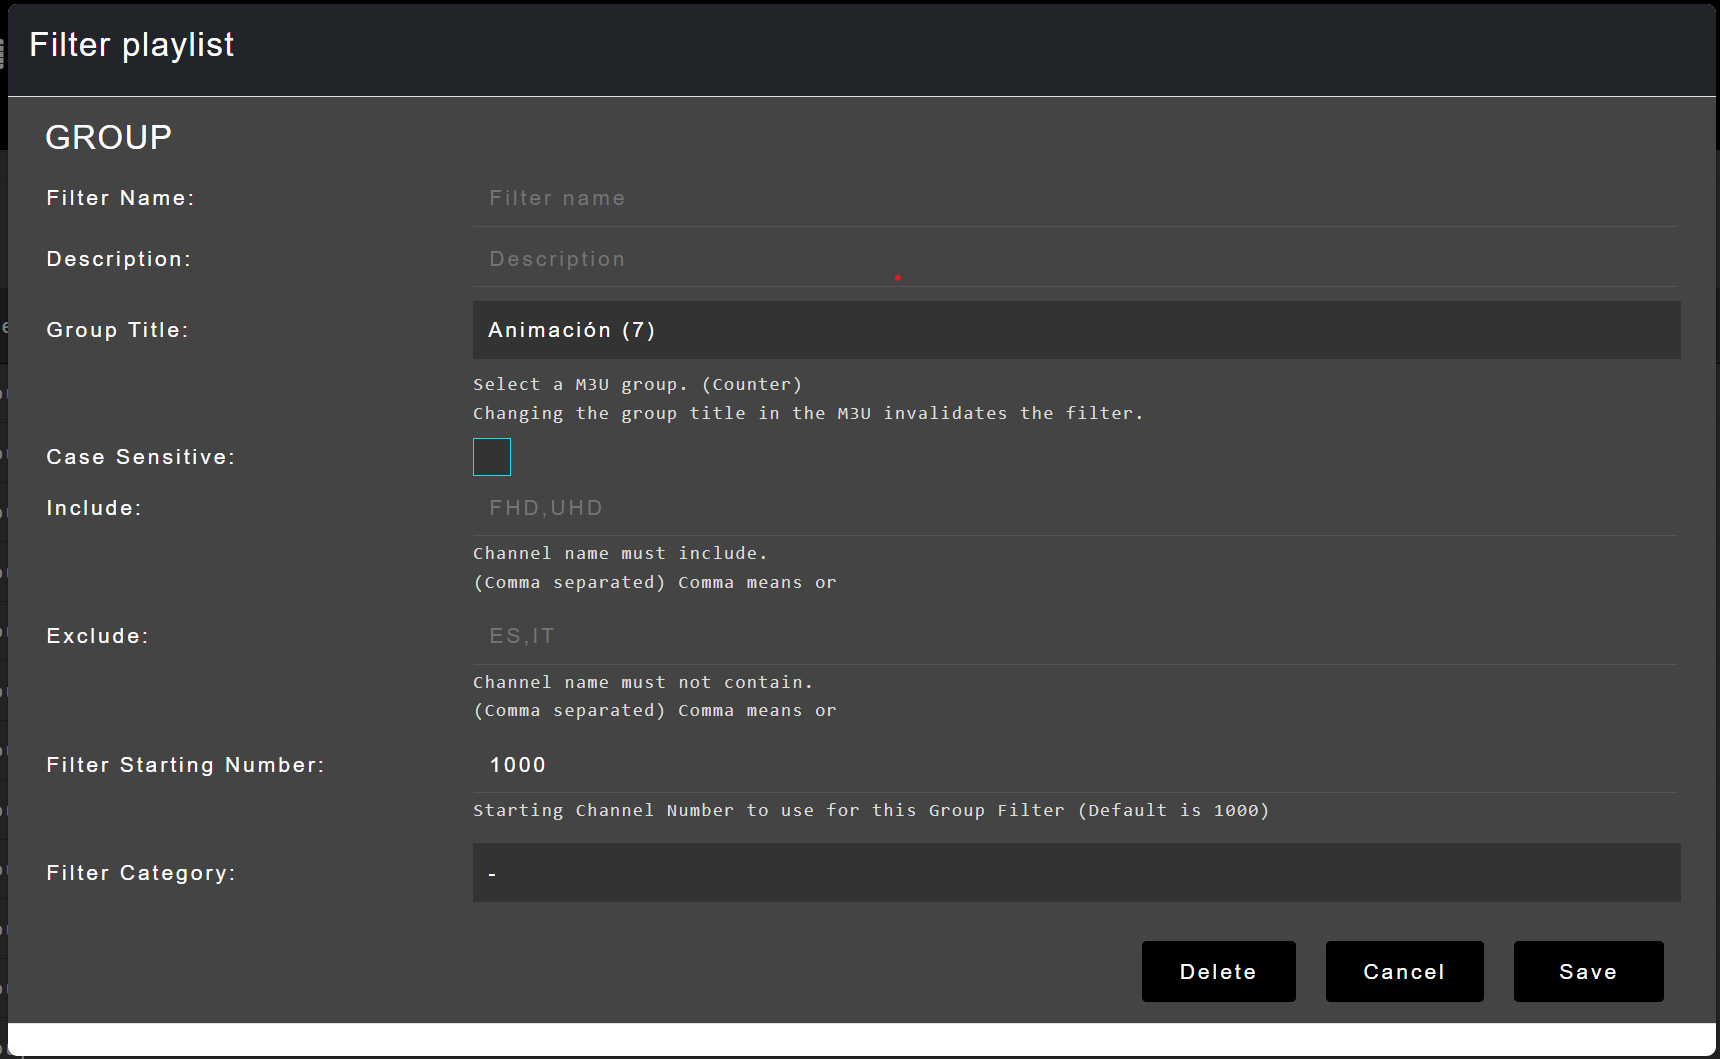
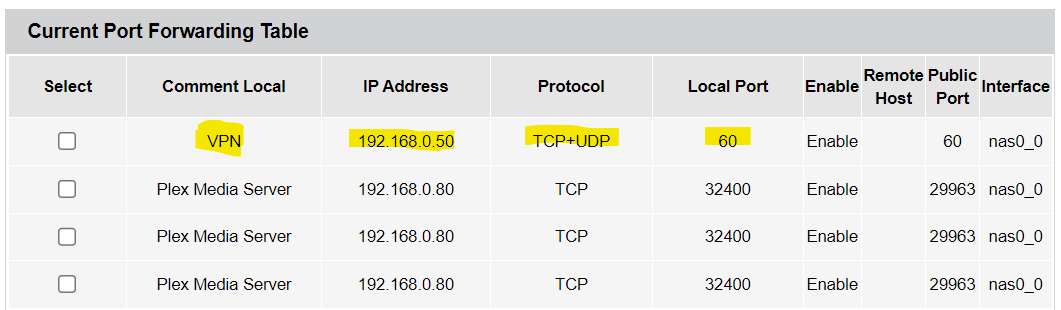 An example of a routing table with port forwarding enabled
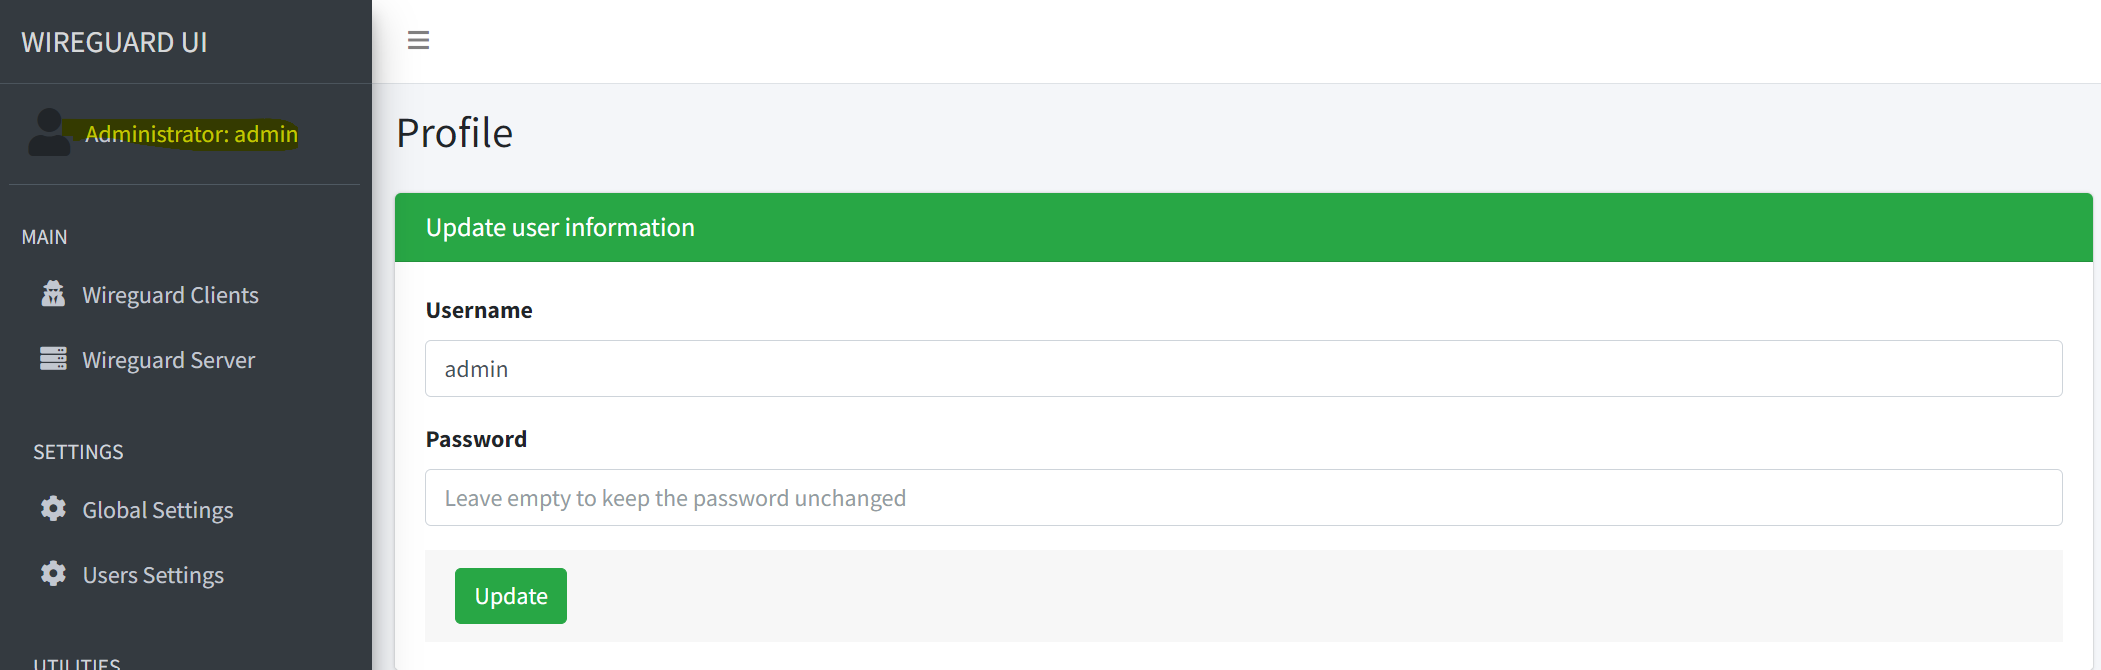 Change password form
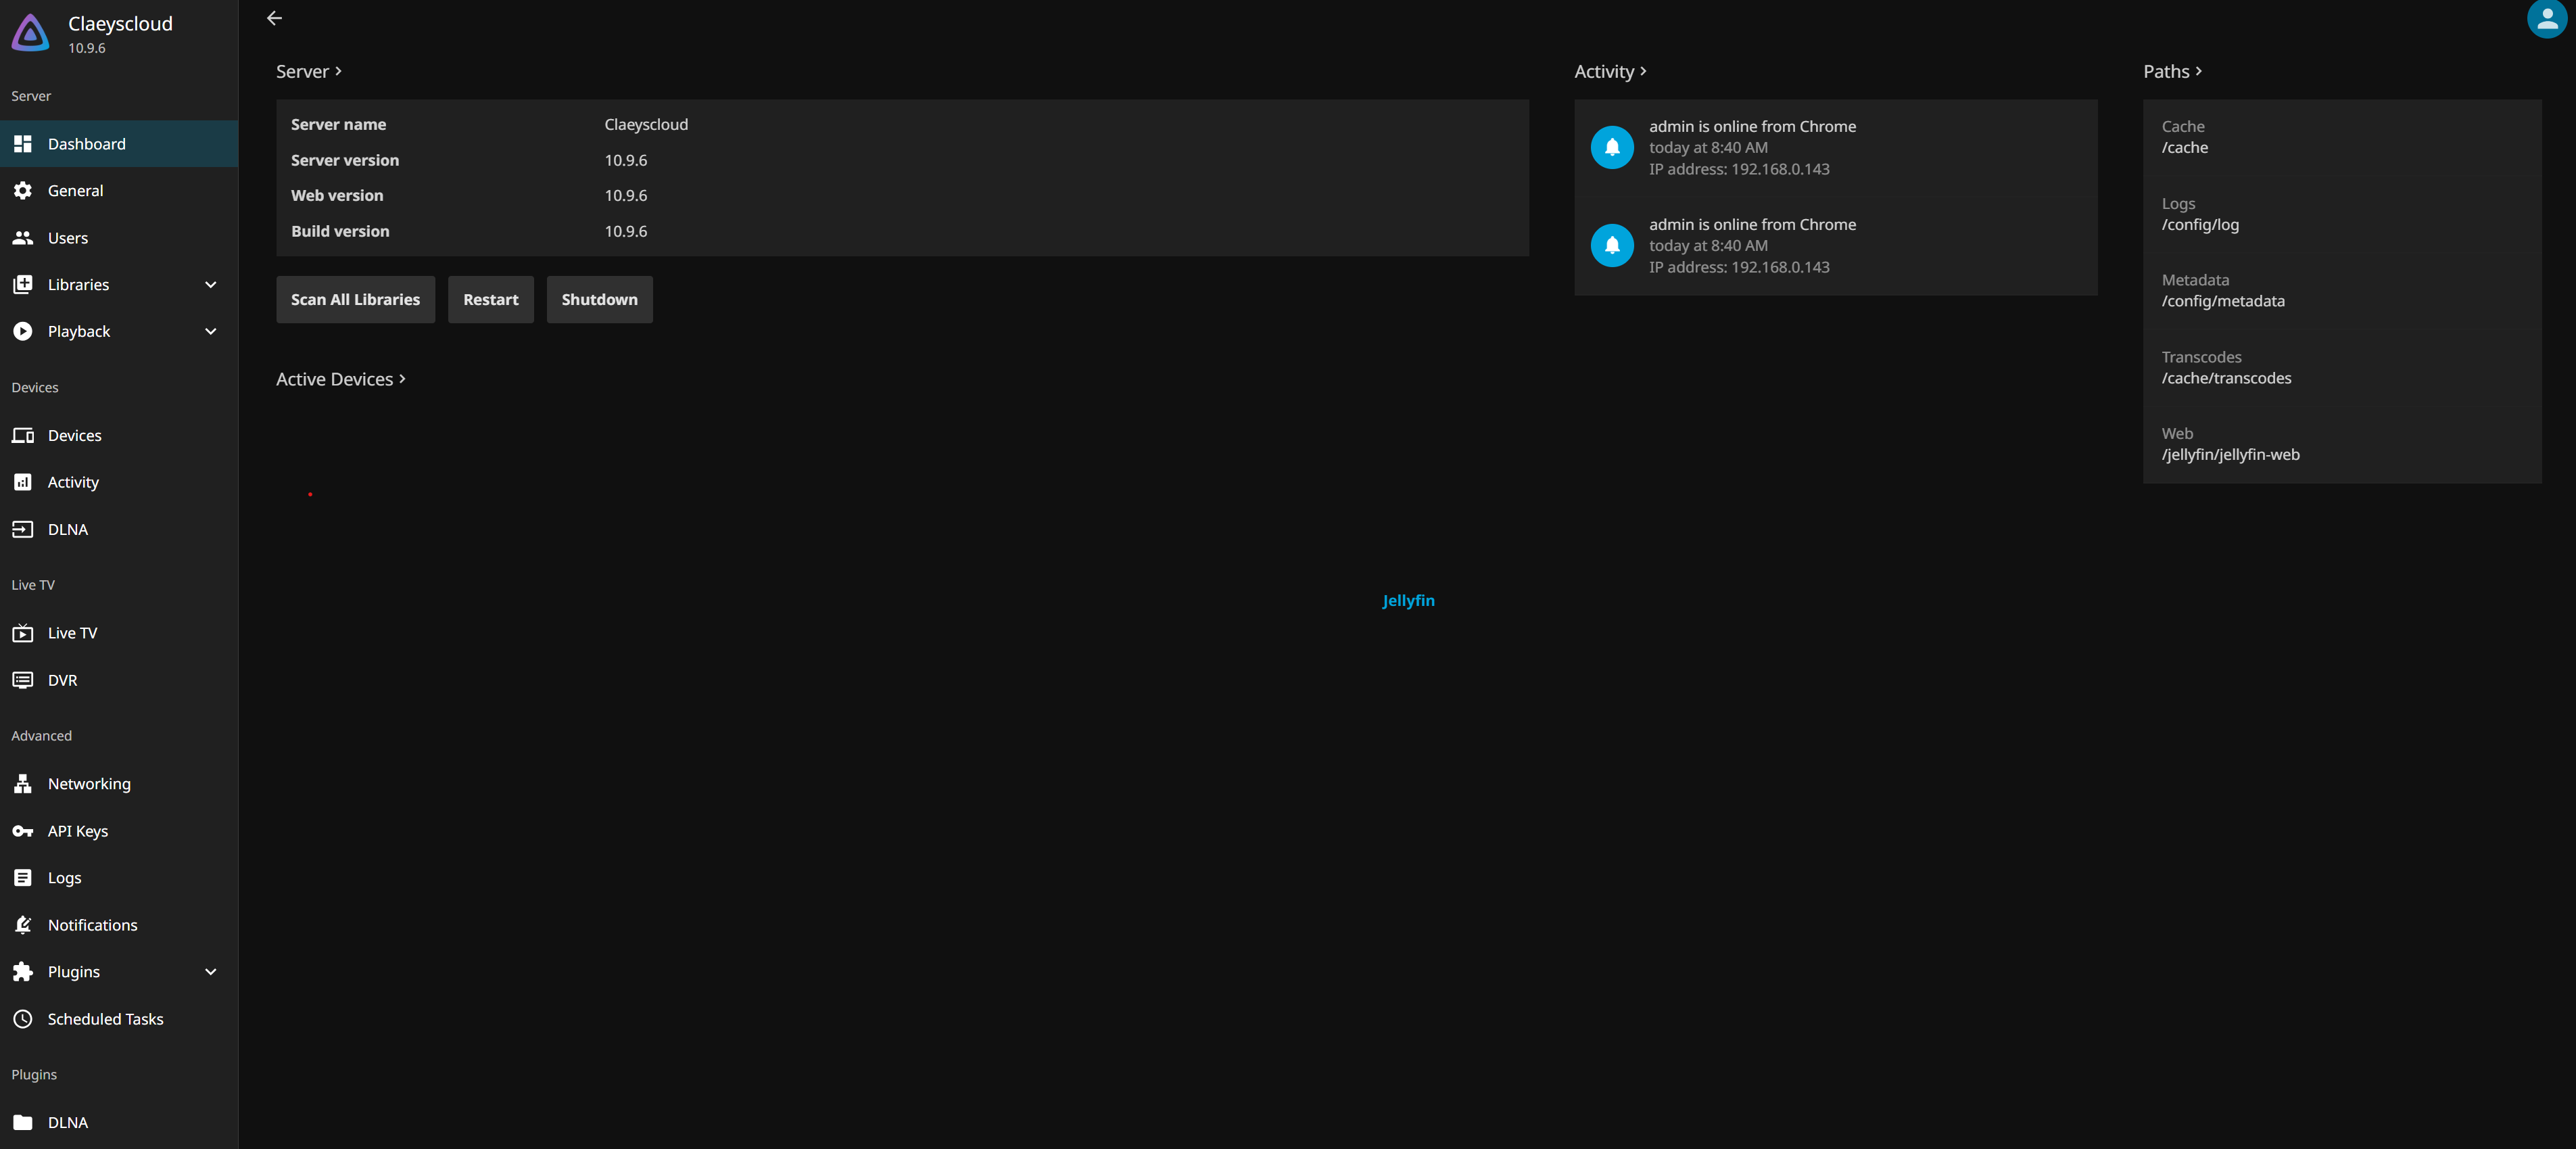
 An example of the web interface
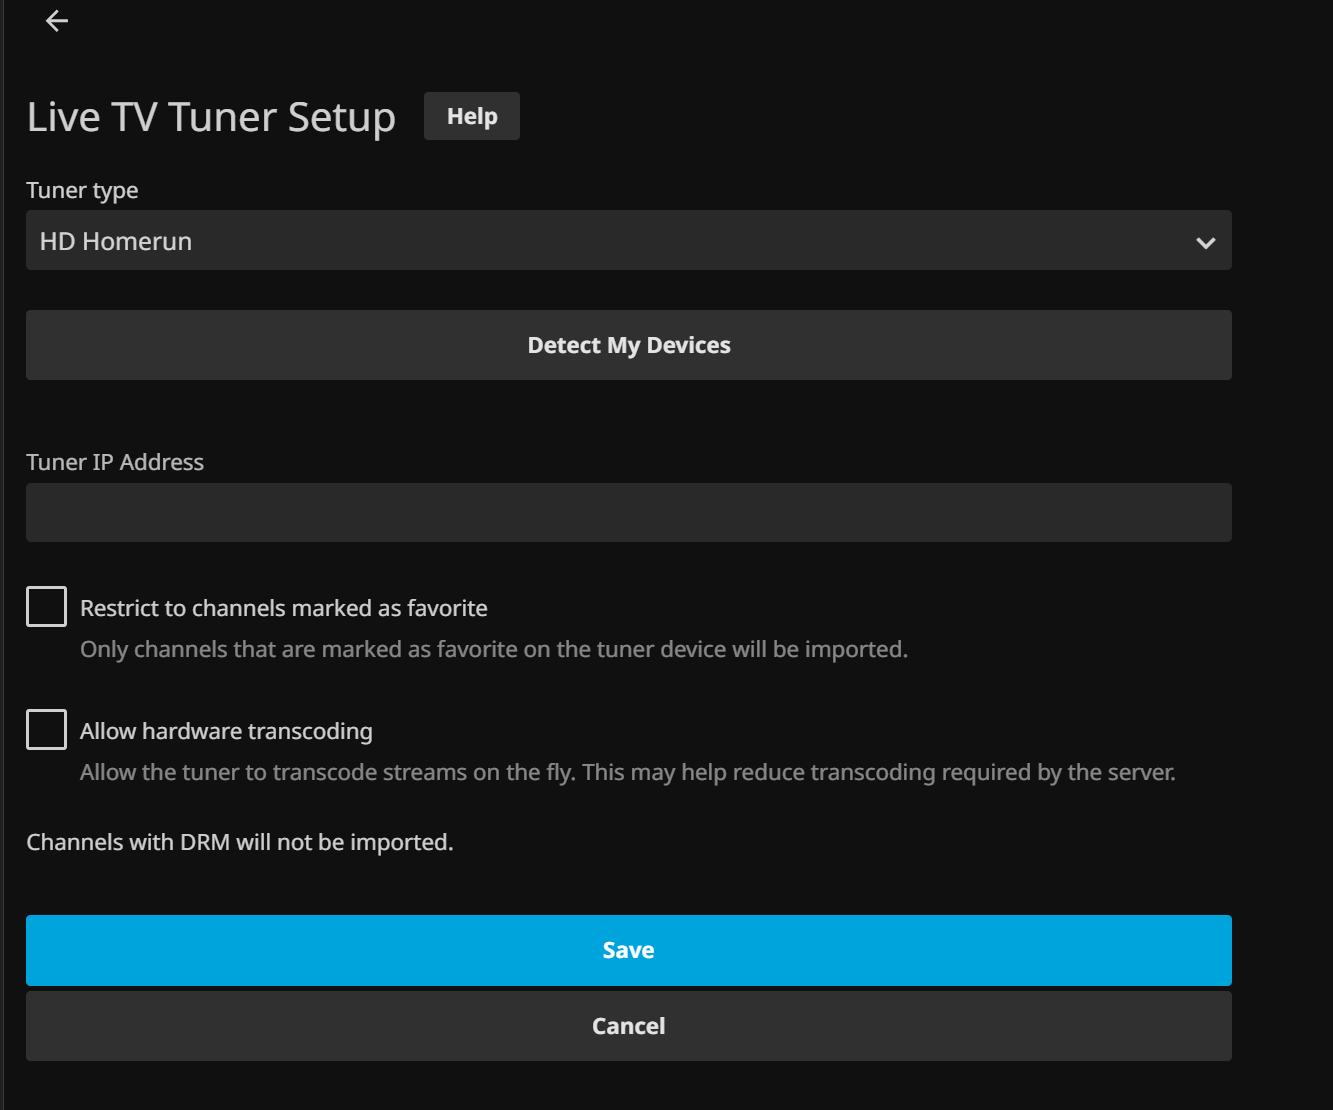
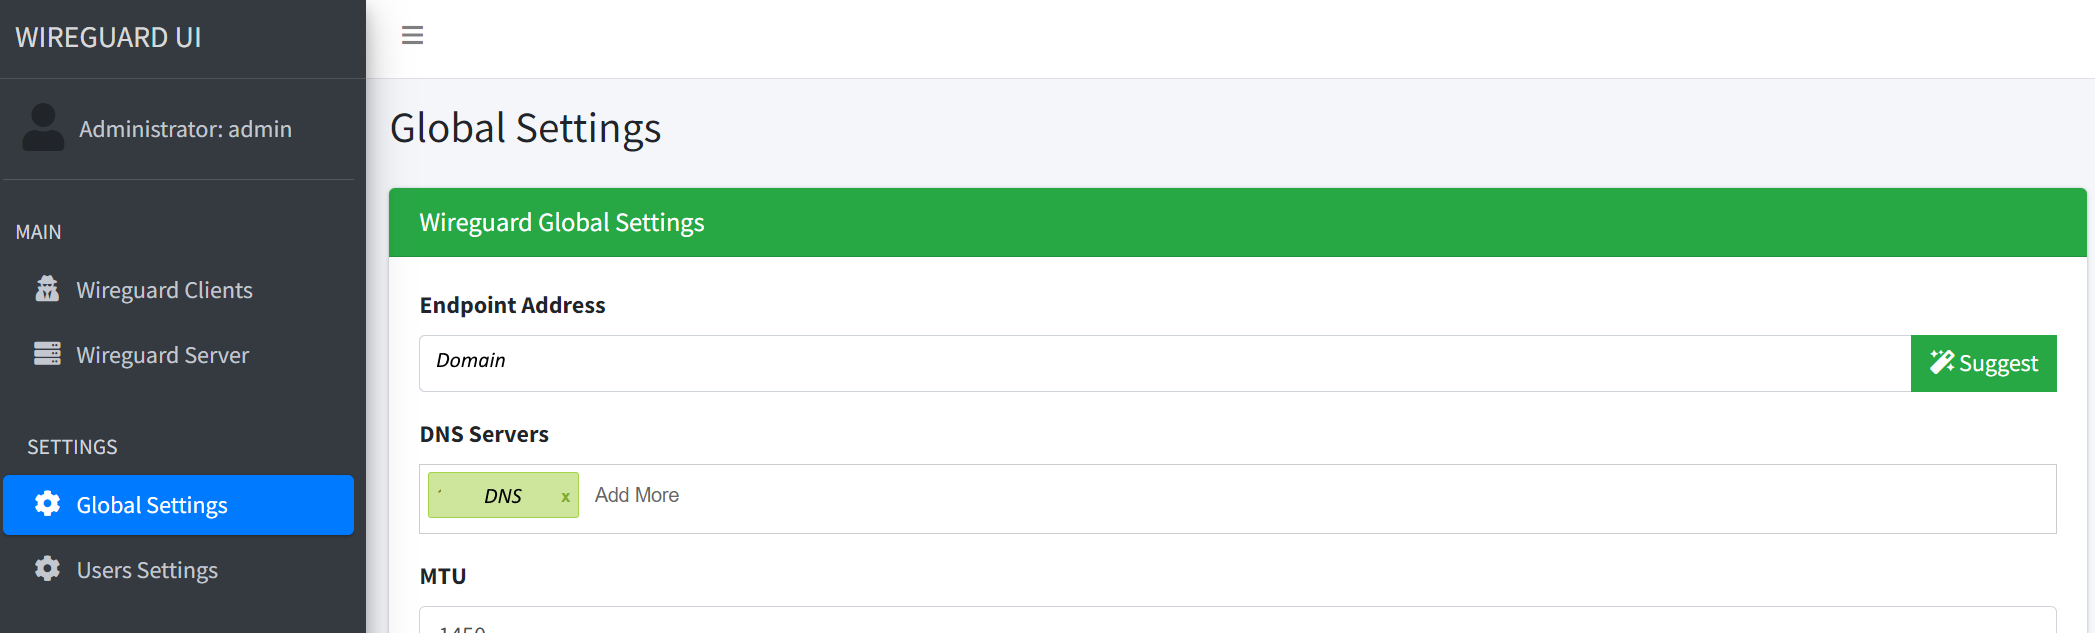 Configuring Wireguard end point settings
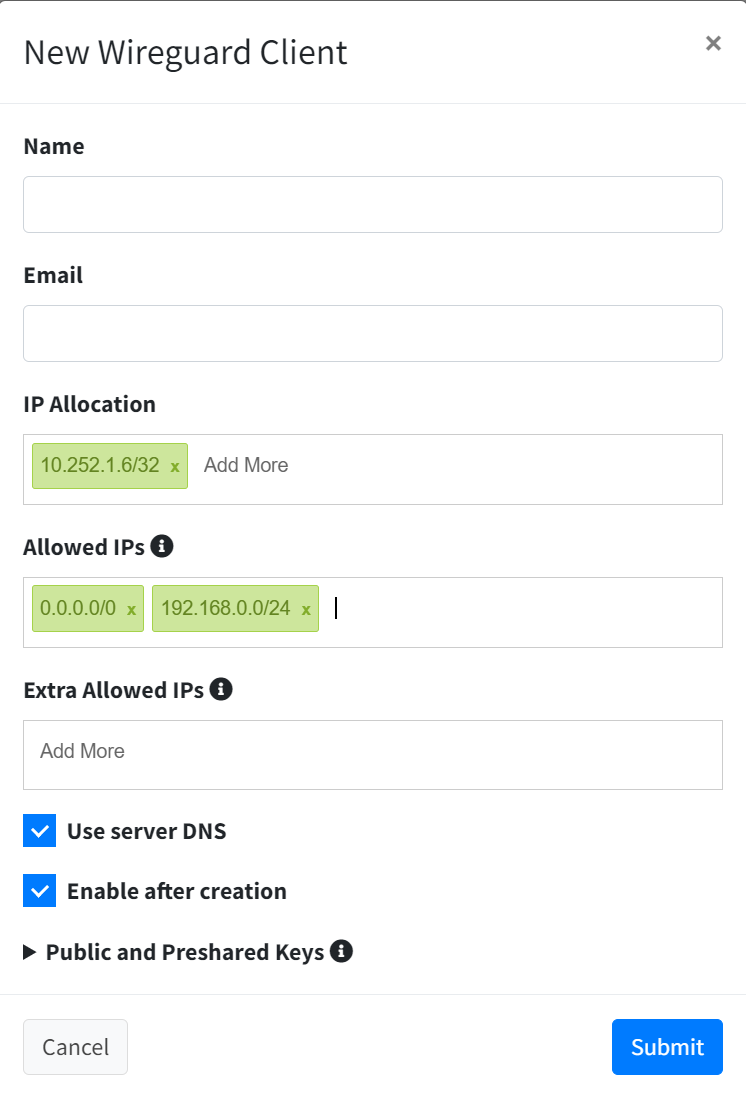 New client dialog